Sewing-4-Sanity
Thriving not just surviving
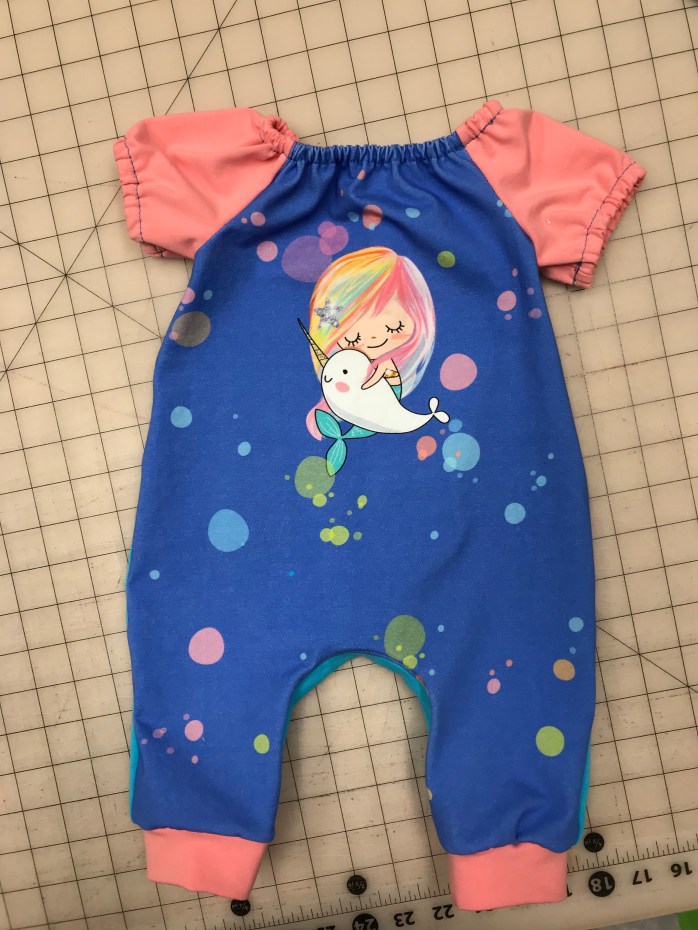
Adding Sleeves to the Bitty Bubble Romper – A Tutorial

Here’s how I added sleeves to the bitty bubble romper:
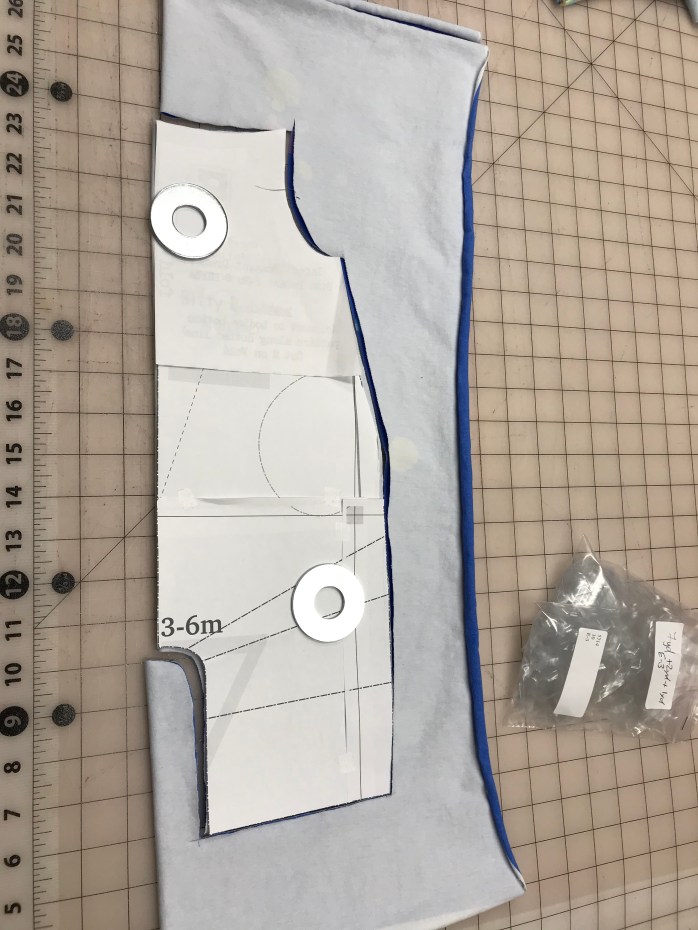
For this tutorial I used a peasant sleeve pattern. As you can see in the picture below, to created the front piece, I matched the armscye point of the bitty bubble pattern with that same part of the bodice from the peasant dress. Since the peasant dress bodice is the same front and back, I just made two of these pieces.
You could use the same method with a raglan pattern or other shirt pattern, but if the back pieces are different you would need to make separate pieces.
Because the only way to get the bitty bubble on and off normally is pulling down the straps, you also need to add crotch snaps if you’re going to add sleeve (if you want it to be an easy diaper change anyways! You could technically pull a peasant dress on and off through the neck hole, but crotch snaps are more convenient in my opinion!)
So to do this, the first step is to measure the crotch curve.
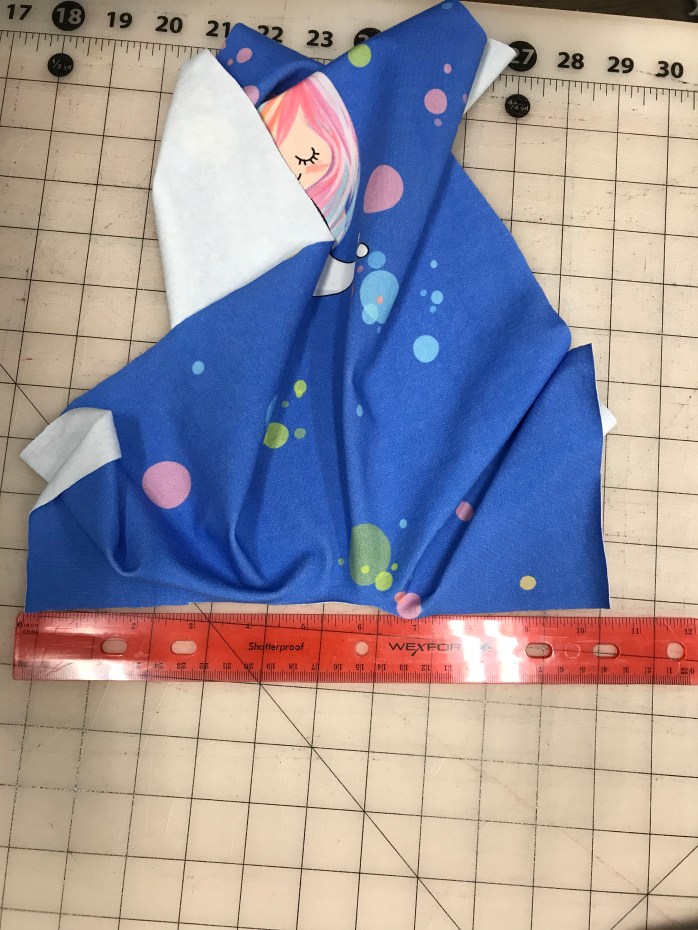
This size (3-6 months) I got a measurement of about 10.5.” I cut a 2″ piece of binding to use for snaps the exact same length.

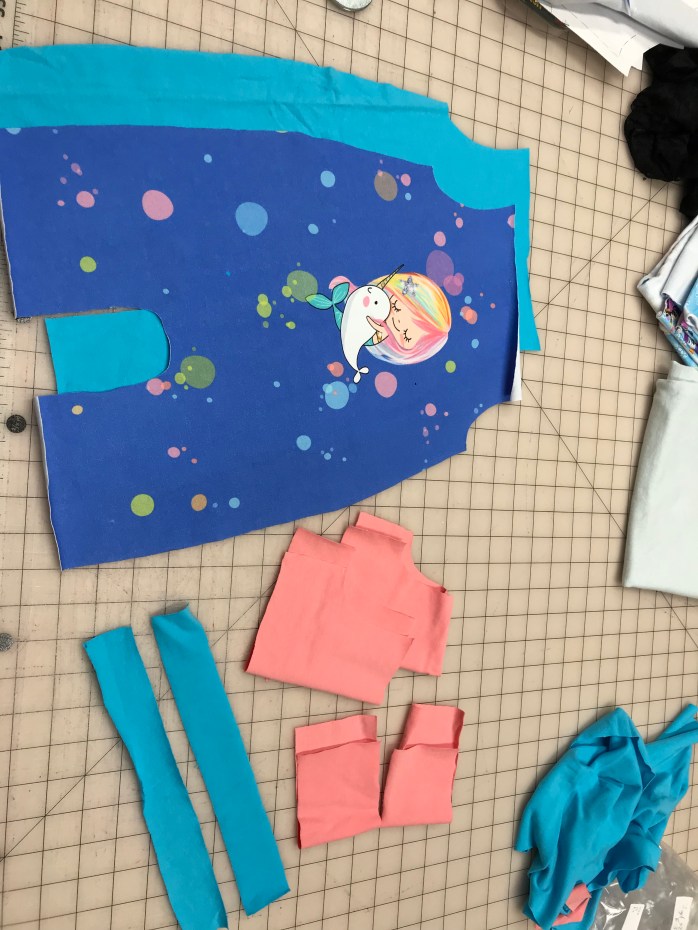
These are all of the pieces you should have once you have everything cut:
Front piece (1)
Back piece (1)
Sleeves (2)
Leg Cuffs (I’m making the pants version of the romper) (2)
Snap bindings (2)
**** The first time I made this I got the front and the back pieces backwards, so the pictures show the opposite of how the final turned out (lots of seam ripping had to occur, don’t make my same mistake!). So follow the instructions as written, not the next few pictures when doing front versus back! ****
Fold the binding for the snaps in half, wrong sides together, matching the raw edges up. Then sew that binding to the right side of the back piece. Because the crotch curve and the binding are the same length, you should not have to stretch.
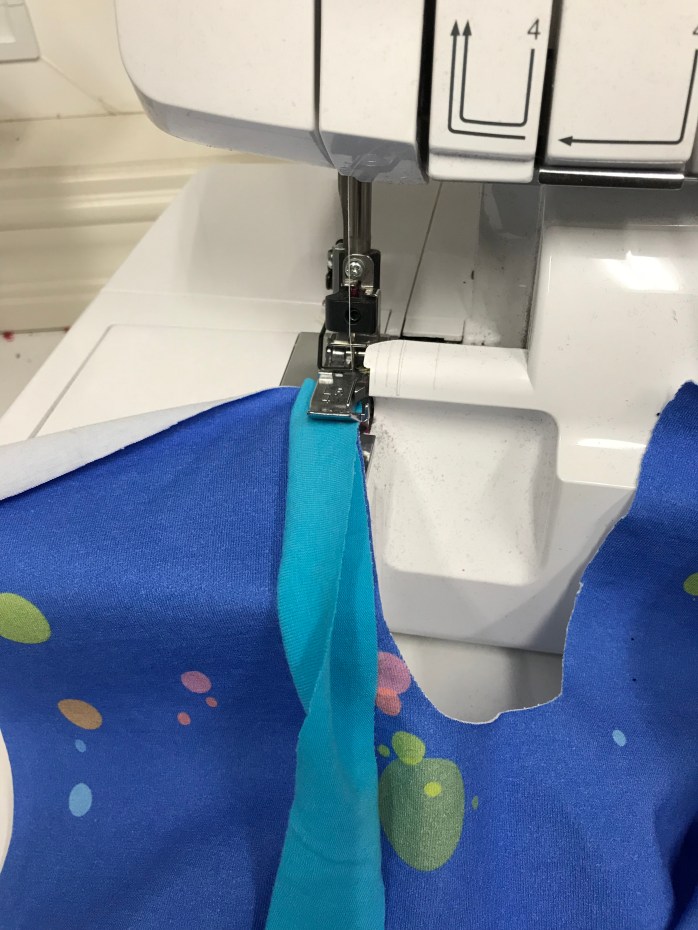
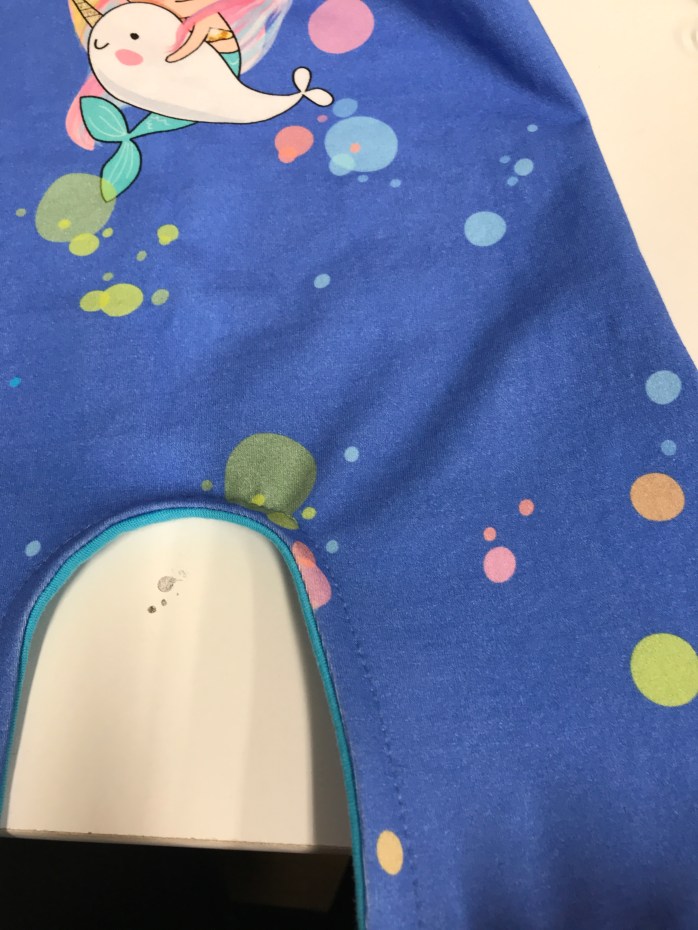
This is what it will look like (although remember this is the back!)…

Now flip the binding to the wrong side of the back piece and stitch in place 3/8″ to 1/2″ away from the edge.
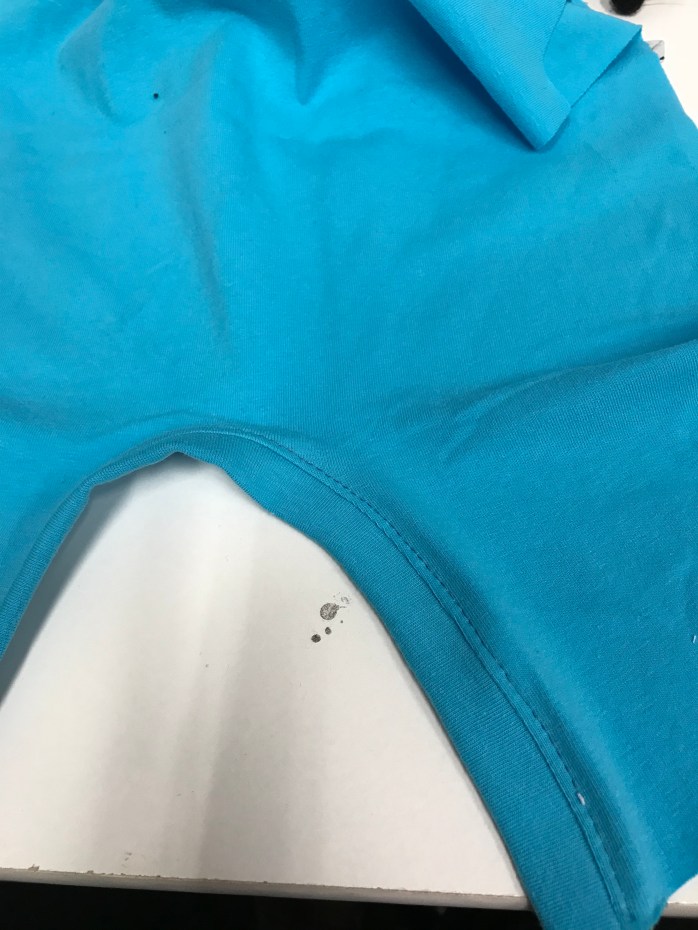
For the front piece, you’re going to do almost the same thing, but there are a couple of important differences! You aren’t going to flip the front to the back and stitch in place so you need to add a stabilizer for the snaps. I usually add a piece of woven fabric if I don’t have stabilizer on hand, but you want to sandwich it between your binding layers before you stitch the binding to the front of the romper.
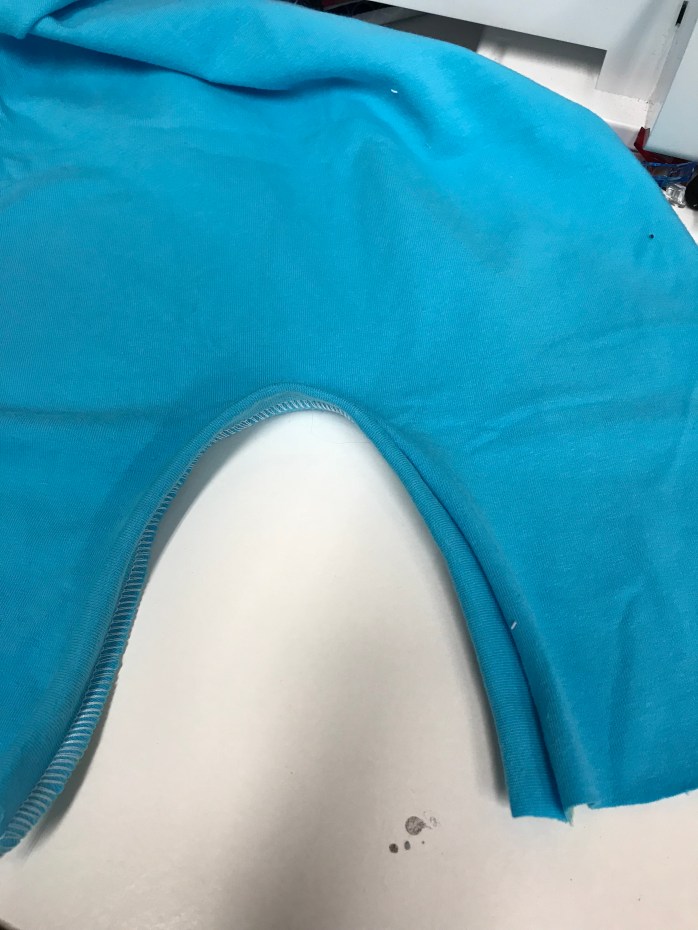
After you attach the binding, topstitch around the front of the crotch curve instead of flipping it under.
Then finish constructing the pattern as indicated until you get to the cuffs (so attach the sleeves to the bodice, sew the side seams together, for the peasant pattern create the casings and add elastic). This is what it looks like before you add cuffs:

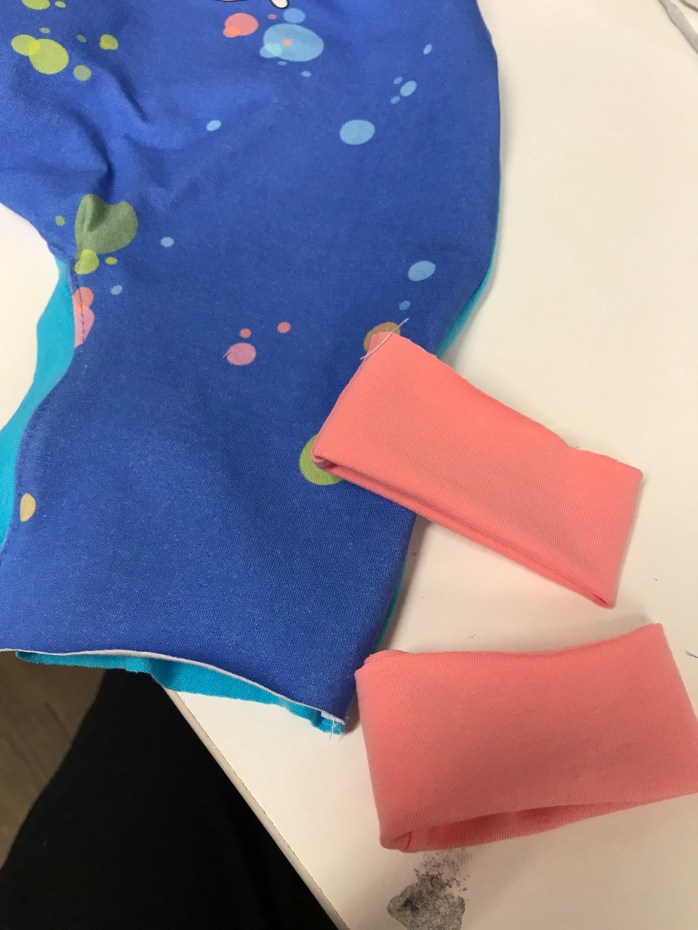
Prepare your cuffs as instructed in the pattern so they’re ready…
Now, do make it to where the snaps work best, you want to take the back piece and wrap it around to match up to the snap binding on the front piece. Baste that overlap in place.
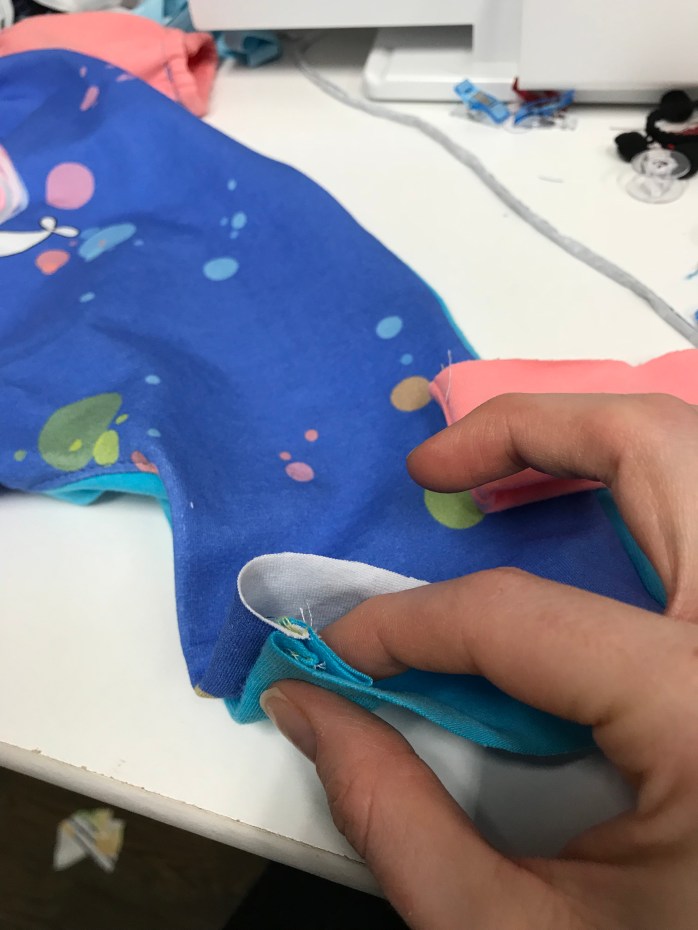
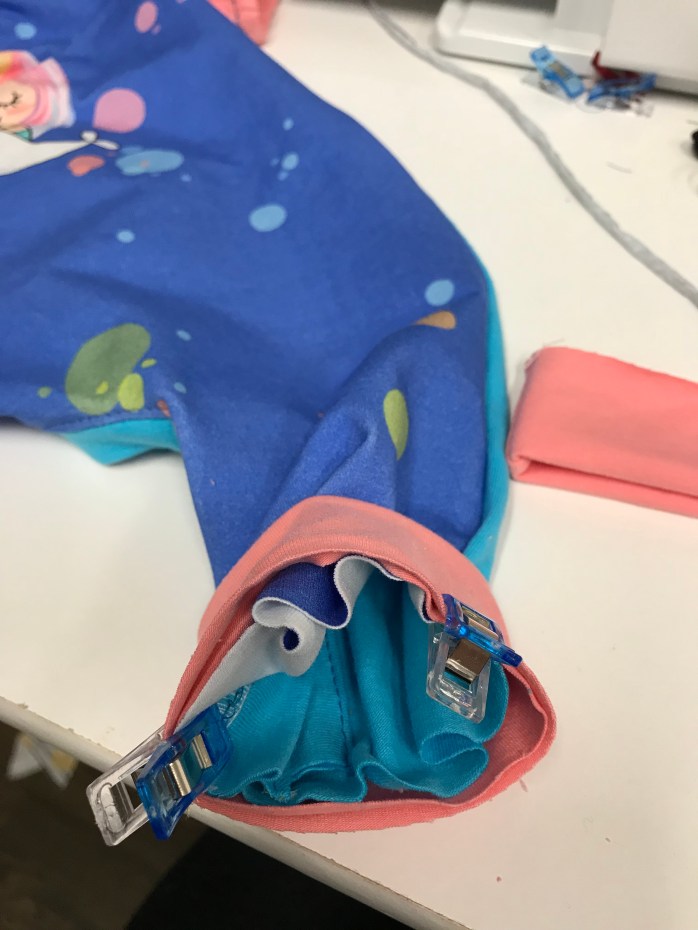
Now add your cuffs as normal…
Add your snaps and you’re done!
I usually do about 2″-2.5″ in between my snaps if you’re unsure about placement. 🙂