Sewing-4-Sanity
Thriving not just surviving
Simple Hack for a Peek-a-boo Hole

This is a really easy hack to give your dress or top just a little extra interest! I used the Excalibur Dress/Tank pattern from Stitch Upon A Time, but you could do this to other tank patterns with similar types of adjustments.
I used custom weight cotton Lycra from Smoogie, but have also used DBP and will probably try a good quality French terry for another.
How to do it:
The first step is getting all of the right pieces for your dress (or top). One of the things I love about the Excalibur is that I’ve found I can wear it with either side facing the front if I use two back pieces instead of a back and a front. So I cut two normal back pieces plus an extra piece to go over top to create the peek-a-boo hole.
To make the extra piece, trace around the top part of the back piece (on the fold), stopping about 1.5” into the armscye. Then to create the hole, make a cutout on the folded side, blending it into the other side. I started my cutout 2” up, but…I forgot to take into account hemming so next time I’ll make a slightly less dramatic hole and do 1.5”!
This is what it looked like: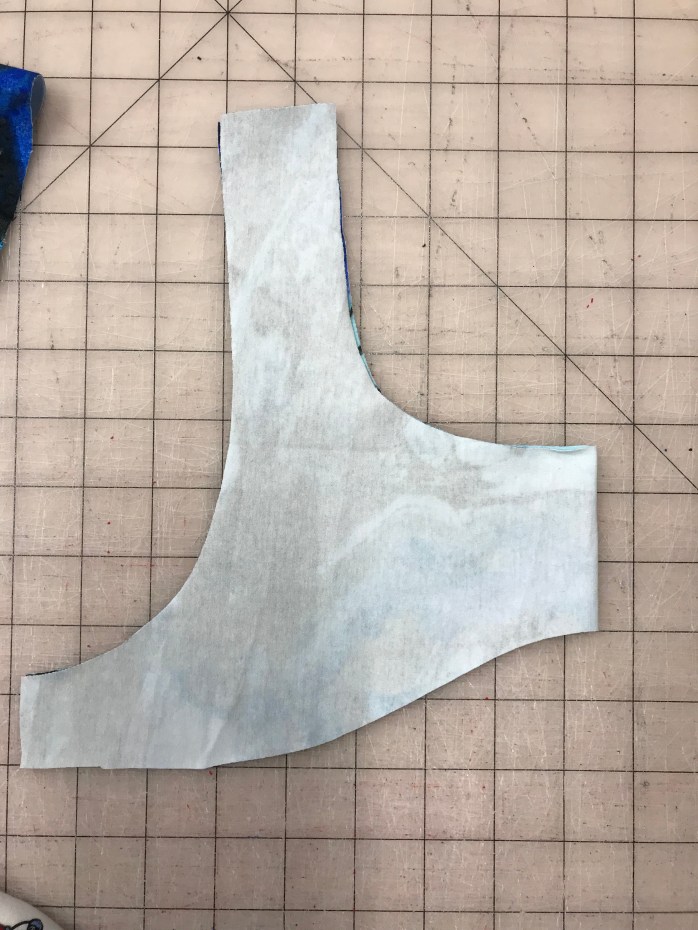
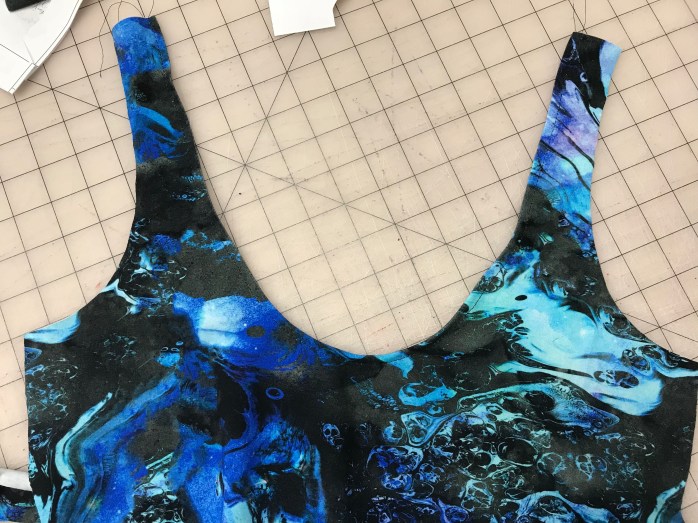
Next, take the piece that is going to be the front of the dress and lower the neckline however much you want (I lowered mine about 2”). Remember to make it a little higher than you want the finished product because we will be hemming it at 3/8”.
Hem the neckline of the full piece and the bottom where you made the cutout on the top piece. Here’s what the full front piece looks like:
And here’s our top front piece:
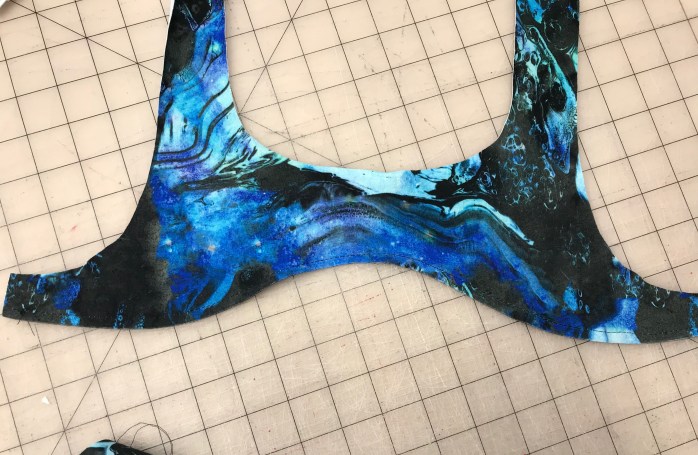
Now place the top piece on top of the full piece, lining them up at the armscye. Baste them together at the armscye.


Now you have a front front and a back piece and can finish construction as directed in the pattern. Sew together at the shoulder, then at the side seams, measure your new neck and arm openings (I do my bands at 85% of the opening and these were 1” thick), add bands, hem the bottom, and voila – you’re done!
This was my final product!